Tuesday, December 29, 2020

Using your Designer Series Paper Scraps

https://youtu.be/vPTIb00R2p0 

https://youtu.be/vPTIb00R2p0   https://youtu.be/vPTIb00R2p0

Using your Designer Series Paper Scraps

It's so easy to create beautiful cards using up all your scraps. If you are anything like me, you just can't throw away those beautiful pieces of paper, even if you only have a tiny bit left. Here I show you how to use those tiny scraps to create a beautiful card front.

Begin with a standard card base - Coordinating Cardstock color cut to 8 1/2" x 5 1/2" and folded in half.

Cut out two pieces of card stock in the same color (I used White or Very Vanilla, but you can use anything that coordinates with your paper). Cut one to 4" x 5 1/4" and the other to 3 3/4" x 5". 

Cut your Designer Series Paper scraps so that they are all the same width. I used 3/4"  for some of the cards above and 1/2" for others. It just depended on the scraps I had. I looked at the majority of the scraps and used that size. Don't worry about the length, as any length will work for this project.

Begin adhering your strips down on the 3 3/4" x 5" cardstock you cut. Start by angling one of your longer strips in the center of the cardstock. 

Continue adding more scrap pieces leaving the same amount of space between each piece that you layer on. 

When the cardstock is completely filled up with your pieces, turn it over and cut off the excess strips. Save the bigger ones to use on your next card. 

Adhere this piece of cardstock to the larger piece of cardstock you cut out in the same color. This gives it a nice border. Now you can add embellishments such as ribbon or twine before adhering it to your card base. 

Once you adhere to the card base, add a sentiment using a die-cut or punched coordinating cardstock and stamp set. I love using the Many Mates or Here's A Card stamp sets because they coordinate so well and create an outside and inside sentiment. 

For a step by step video - Visit our Youtube channel at https://www.youtube.com/channel/UCTOXUgG69nKIhZD1y49VT1A 

Tuesday, September 15, 2020

September Monthly Newsletter

September Monthly Newsletter

Tracy Allen  tkcraftsandcards@gmail.com

541-579-6682

Facebook:   TKCraftsandCards            Pinterest:   tkcraftsandcards          Youtube: TK Crafts

September Specials

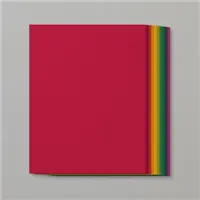
Do you love free stuff?  ME TOO!!! Place an online order of $25 or more and receive a Monthly Card Kit (3 cards for you to make). Order $50 and receive 8 (6”x6”) sheets of NEW Designer Series Paper and card kit.  

Be sure to enter Host Code S327M4CP

If your order is over $150, do not enter the host code. You are the host and receive the host credits as well as the Card Kit and Paper Pack.


It's always a good time to join Stampin' Up!!!

Stampin’ Up! makes is SO easy to make new friends doing what you love and right now we have an INCREDIBLE joining special. For only $99 you get to choose $125 from any of our current catalogs (including the brand new Stampin’ Cut & Emboss Machine) Plus you get two free stamps sets and a kit to make 8 beautiful cards with your new stamp sets.

There's no obligation if you get the kit, so what's holding you back?!  This is the BEST deal we offer!

I can answer your questions you have. Remember you don’t have to do parties or anything you don’t want! But, I do offer access to training, live and online meetings, incentives, card swap opportunities, exclusive Facebook group, and more!

Let me know if you’re ready and I can help. You can also sign up for the kit yourself here! https://ida.stampinup.com/en/?demoid=2207115


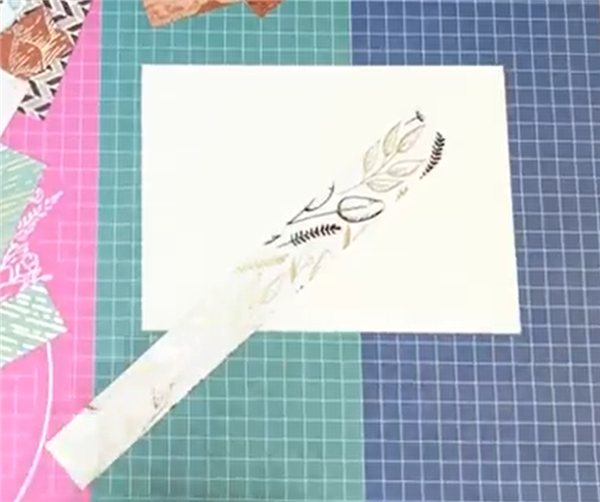
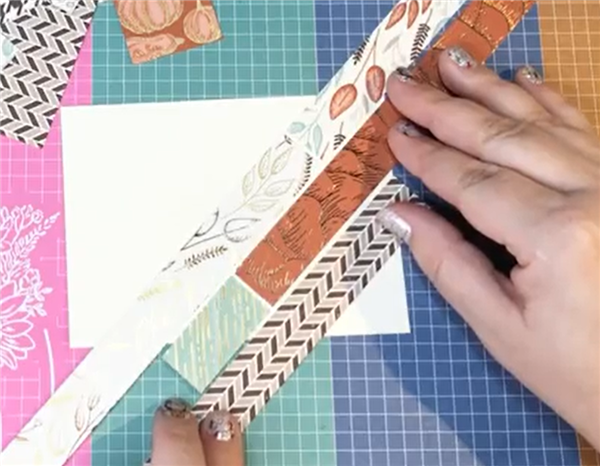
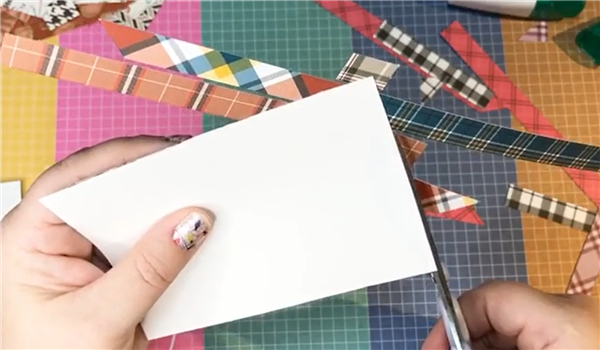
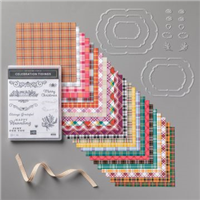
Holiday Card Kits - $25 EACH

We have so many beautiful monthly card kits for ordering. Each kit contains everything you need to create 15 cards with envelopes (5 cards each of the 3 different designs). There is also a lot of extras you will have left over from these kits. Everything is precut and color step-by-step directions are emailed with the purchase. The 
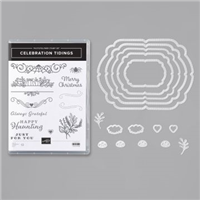
only item not included is the stamp set, but you can purchase that as an add on if you don’t already own it.

Click on the link below to purchase. All orders MUST be made by the 8th of each month. Items will be available for pick up on the 15th of each month.

For a full description of all our Holiday Card Kits – Visit our ordering link at https://forms.gle/bih8XjFmz7S4KRaK8

Don’t forget that you can add on coordinating stamp set and save on tax and shipping. Such a great value!!!


Monthly Card Classes: Participants create 4 to 5 different cards and get to try out the latest Stampin’ Up! products. The class fee is $15 which includes pre-cut papers, embellishments, and use of the tools, stamps and stamp pads to complete your projects. The class is self-paced, so you can go at your own speed. Be sure to bring your favorite adhesive.


Class Time: 1 p.m. to 3:30 p.m.         Class location: 3220 W. Harrison, St, Chandler, AZ 85226

October 10th, 2020 – Fall/Thanksgiving Cards              November 14th, 2020 – Christmas Cards

**Class fee is waived for anyone placing an order of $25 or more during the class.**


 Upcoming Events – I am currently working on “A Day Of Christmas” Workshop.  The workshop cost will be dependent upon the space I am able to rent but it will include snacks and beverages and a FULL DAY of working on your projects. There will also be optional classes you can purchase including a Christmas “Stamp a Stack”, a home décor project, Christmas Gift Tags project and a scrapbook Layout project. All participants will receive a goody bag as well.  This event will take place in late October or the 2nd weekend in November.


We’re on YouTube: If you haven’t been able to join us on Facebook, we have a new option for you. Check out our past Facebook Lives on YouTube. Be sure to click SUBSCRIBE.

https://www.youtube.com/channel/UCTOXUgG69nKIhZD1y49VT1A

Facebook Lives: Join us on Facebook this month for some fun product demonstrations, beautiful card samples and fun prizes.   All times are listed in MST. All Lives are on my Facebook Business page unless stated otherwise below.   https://www.facebook.com/TKCraftsandCards/


Friday, September 11th – 4:45 p.m.

Friday, September 18th – 4:45 p.m.

Friday, September 25th – 4:45 p.m.


Host your own online home party and earn free Stampin’ Up! product!

Host a Facebook online party to receive free Stampin’ Up! product. It’s so easy. I do all the work for you. All you do is invite your friends and engage and you earn free product!!!  Contact me today by email to get your party started. tkcaftsandcards@gmail.com

**Host a party in September and choose a Ribbon of your choice from the Holiday Mini Catalog. (must have a minimum of 6 attendees)


Paper Pumpkin – Monthly Stamp Kit Subscription

Paper Pumpkin is our amazing monthly subscription kit. For only $22 plus tax you get a box filled with everything you need to complete that month's craft project including stamps and ink. EVERYTHING!!
This amazing kit comes out each month.

 For only $22 (that includes shipping), you receive a project each month that includes a stamp set and ink spot. You can preview the theme each month and are under NO obligation (just sign in to your account and skip that month if you aren’t interested).  

Sign Up today: https://www.paperpumpkin.com/en-us/sign-up/?demoid=2207115

Monday, August 31, 2020

Press On - Stampin' Up!

 Press On - Stampin' Up!  


Confidence & Coffee
  • Card Base - Whisper White Cardstock 8 1/2" x 5 1/2" Fold in half
  • Cut Pumpkin Pie cardstock to 5 1/2" x 3 1/2"
  • Cut Plaid Tidings Designer Series Paper to 5 1/2" x 3" and adhere to the center of the Pumpkin Pie cardstock. 
  • Adhere to the center of the card front (vertically)
  • Cut Black cardstock to 5 1/2" x 1 5/8" 
  • Cut Mango Medley cardstock to 5 1/2" x 1 1/2" and adhere to the center of the black cardstock (set aside).
  • Cut Whisper White cardstock to 5 1/2" x 1 1/4" 
  • Use Momento Tuxedo Black ink to stamp the 5 small coffee cups from Press On stamp set on the right side center of the white cardstock.
  • Stamp the sentiment "All you need is confidence & lots of coffee" on the center left-hand side of the white cardstock using Momento Tuxedo Black ink.
  • Use Stampin' Blends markers (or other coloring tools) to color in the coffee cups. Suggested colors include dark/light Pumpkin Pie, dark/light Mango Medley, Dark Gray Granite. 
  • Adhere the white cardstock to the center of the Mango Medley cardstock, then adhere the panel to the center of the plaid designer series paper on the card front. 


Confidence & Coffee
  • Card Base - Whisper White Cardstock 8 1/2" x 5 1/2" Fold in half
  • Cut Whisper White cardstock to 5 3/8" x 4 1/8" 
  • Use the Tasteful Textile 3D Embossing folder to run the Whisper White cardstock through. 
  • Cut Plaid Tidings Designer Series Paper to 4 1/8" x 2 1/4" and adhere to the top center of the embossed white cardstock.
  • Cut Pretty Peacock cardstock to 4 1/8" x 2 1/4"
  • Stamp the "coffee" sentiment at the top right of the Pretty Peacock cardstock using White Stazon Ink. (allow a minute or two to dry)
  • Adhere the Pretty Peacock cardstock to the center of the Plaid Designer paper.
  • On a scratch piece of Whisper White cardstock stamp the 'to-go coffee cup' image using Momento Tuxedo Black ink. Stamp the heart in the center of the coffee cup using Pretty Peacock ink. Stamp the beams around the top of the coffee cup in Pretty Peacock Ink.
  • Using the large oval from Stitched Shapes dies, cut out the coffee cup image (some of the ends of the beams will be cut off). 
  • Adhere this to the center-left of the card front using Stampin' Dimensionals. 

Saturday, August 29, 2020

Plaid Tidings Christmas - Stampin' Up!

 Plaid Tidings Christmas - Stampin' Up!


Plaid Christmas
  • Card Base - Crumb Cake cardstock 8 1/2" x 5 1/2" Fold in half
  • Use the Celebrations Labels dies to cut out a large decorative oval in Shaded Spruce cardstock and adhere to the center of the card front.
  • Use the Celebrations Labels dies to cut out a medium decorative oval from the Plaid Tidings Designer Series Paper and adhere to the center of the Shaded Spruce decorative oval on the card front.
  • Use the Celebrations Labels dies to cut out a small decorative oval in Whisper White cardstock and stamp the sentiment "Merry Christmas" from the Celebration Tidings stamp set in Cherry Cobbler ink. 
  • Adhere the sentiment to the center-right of the card front using Stampin' Dimensionals.
  • Cut 9 1/2" of Embroidered Ribbon and tie it into a bow. Adhere the bow to the sentiment at the bottom left. 
  • Complete the card by adding three of the gold embellishments around the sentiment from the Wonderful Gems embellishment pack. 


Plaid Christmas Trees
  • Card Base - Cherry Cobbler Cardstock 8 1/2" x 5 1/2" Fold in half
  • Cut Plaid Tidings Designer Series paper to 5 1/4" x 2 1/4" 
  • Cut Shaded Spruce cardstock to 5 1/4" x 1/2" and use the long border die from Ornate Borders Dies to cut the border. 
  • Adhere the border to the bottom of the right side of the Plaid designer paper. Then adhere the plaid paper and border to the left side of the card front. Leave an even amount of space between the left edge and the top and bottom of card. 
  • On a piece of Shaded Spruce cardstock use Shaded Spruce ink to stamp the tree image from the Perfectly Plaid stamp set. Then use the Pine Tree Punch to cut out the tree. 
  • On a piece of Whisper White cardstock use Cherry Cobbler ink to stamp the plaid tree image from the Perfectly Plaid stamp set. Then use the Pine Tree Punch to cut out the tree. 
  • Cut a piece of Whisper White cardstock to 3" x 1 1/2" and stamp the sentiment "Merry Christmas" from the Perfectly Plaid stamp set in Shaded Spruce ink at the bottom right. 
  • Adhere the two trees overlapping on to the left side of the sentiment. 
  • Adhere the sentiment and trees to the center-right of card front using Stampin' Dimensionals. 
INSIDE: 
  • Cut Whisper White to 4" x 3 3/4" 
  • Use Shaded Spruce ink to stamp the sentiment at the top center. Adhere to the inside of card.
  • On a separate piece of white cardstock stamp the plaid tree in Shaded Spruce ink and punch out with the Pine Tree punch. 
  • Ashere to the bottom right of the inside of card.


 Our amazing special - Don't Miss Out!! ONLY $99 (+ tax) for over $250 in Stampin' Up! Product!!!! It’s Always a Great Time to Join ...