Friday, August 28, 2020

Happy Christmas Flowers - Stampin' Up!

 Happy Christmas Flowers - Stampin' Up!


Happy Christmas Flowers
  • Card Base - Whisper White cardstock 8 1/2" x 5 1/2"  fold in half
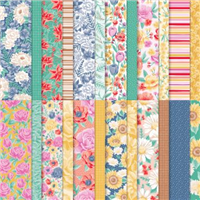
  • Cut Flowers for Every Season Designer Series Paper to 4 1/8" x 5 3/8" 
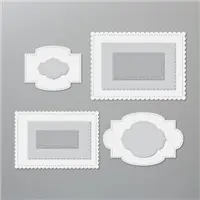
  • Use the Stitched So Sweetly Dies to cut ou the center of the Designer Paper using the large scalloped rectangle and Adhere the larger outside piece to the center of the card front. 
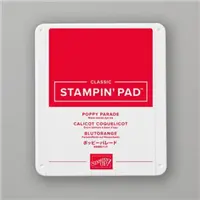
  • Cut Poppy Parade cardstock to 5" x 3 3/4" 
  • Use the Tasteful Textile 3D embossing folder to emboss the Poppy Parade cardstock.
  • Adhere the Stitched So Sweetly Dies designer paper rectangle to the center of the Poppy Parade cardstock. 
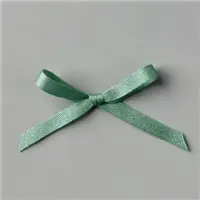
  • Cut the Just Jade ribbon to 21". Wrap it around the Poppy Parade cardstock center and tie a bow on the front left-hand side. 
  • Adhere the Poppy Parade cardstock to the center of the card base using Stampin' Dimensionals. 
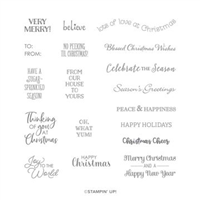
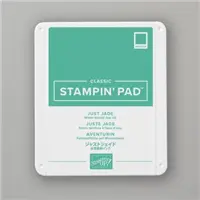
  • On a small piece of Whisper White cardstock stamp the sentiment "Happy Christmas" from the Itty Bitty Christmas stamp set in Just Jade Ink then use the small scalloped rectangle from the Stitched So Sweetly Dies. 
  • Adhere the sentiment to the card front right-center on top of the ribbon using Stampin' Dimensionals.
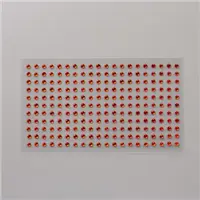
  • Complete the card by adhering three Red Rhinestone embellishments next to the sentiment. 


Thinking of You
  • Card Base - Just Jade cardstock 11" x 4 1/4"  fold in half
  • Cut Poppy Parade cardstock to 4 1/4" x 2 1/4"
  • Cut Flowers for Every Season Designer Series Paper to 4 1/4" x 1 7/8" and adhere to the center of the Poppy Parade cardstock. Then adhere to the top center of the card base.
  • Cut Just Jade cardstock to 3 1/4" x 1 1/2" 
  • Cut Whisper White cardstock to 3 1/4" x 1 1/4" 
  • Stamp the sentiment "Thinking of you at Christmas" in Poppy Parade ink at the top center of the white cardstock. 
  • Adhere the white cardstock to the center of the Just Jade cardstock. Cut a small triangle out of the bottom of the two cardstocks.  
  • Adhere to the card front matching the top of the sentiment cardstock to the top of the Poppy Parade cardstock on the card front. (Right side of card).
  • Complete the card by adhering three Red Rhinestone embellishments above the sentiment. 

Nothing's Better Than cards with Coffee and Chocolate

Nothing's Better Than......
 

Coffee and Awesome!
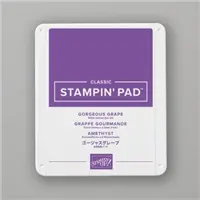
  • Card Base Gorgeous Grape Cardstock 8 1/2" x 5 1/2" fold
  • Cut Daffodil Delight Cardstock to 4" x 5 1/4" and adhere to card front
  • Cut Whisper White Cardstock to 3 3/4" x 5"
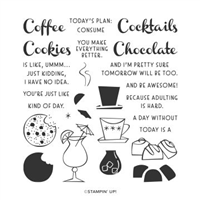
  • Use Momento Tuxedo Black Ink to stamp the coffee cut outline 4 times down the left side of the white cardstock. Be sure to tilt to the left or right to get a different look for each cup.
  • Use Gorgeous Grape, Coastal Cabana, and Daffodil Delight ink to stamp the inside of the coffee cup.
  • Use the same ink colors to stamp a small start of each color above the coffee cups.
  • Use Momento Tuxedo Black Ink to stamp the "today's plan: consume" and "coffee" stamp toward the bottom right of the white cardstock
  • Cut Daffodil Delight Cardstock to 1/2" x 2" and use Momento Tuxedo Black Ink to stamp the sentiment "And Be Awesome!" on the cardstock.
  • Adhere this sentiment under the word coffee using Stampin' Dimensionals.


Chocolate Today!

  • Card Base Whisper White Cardstock 8 1/2" x 5 1/2" fold in half
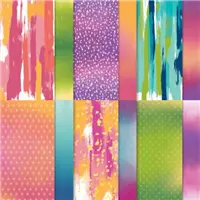
  • Cut Artistry Blooms Designer Series Paper to 4" x 5 1/4" and adhere to the front of the card base.
  • Use the Stitched Shapes dies and die cut a large Calypso Coral cardstock circle and a medium white circle.
  • On the white circle stamp the outline of the chocolates in the center using Momento Tuxedo Black ink, then stamp the center of the chocolates using Early Expresso Ink (you can stamp off on a scrap paper first to get a lighter chocolate color).
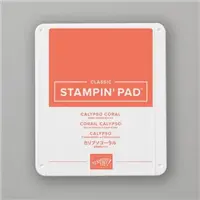
  • Use the small star stamp to stamp several of the stars like embellishments around the chocolates using Calypso Coral ink.
  • Use the Stitched Rectangles dies and die cut a large Calypso Coral cardstock rectangle and a medium white rectangle.
  • Use Momento Tuxedo Black ink to stamp the sentiment "Today Is A" in the top left corner of the white rectangle and "Kind of Day" in the bottom right-hand corner.
  • Stamp "Chocolate" using Calypso Coral ink in the center of the rectangle.
  • Adhere the Calypso Coral rectangle to the bottom center of the card front and the Calypso Coral Circle at the top center of the card front.
  • Add the white stitched shapes on top of the center of their respective shapes using Stampin' Dimensionals.

Saturday, August 1, 2020

Season Of Thanks Card - Stampin' Up!


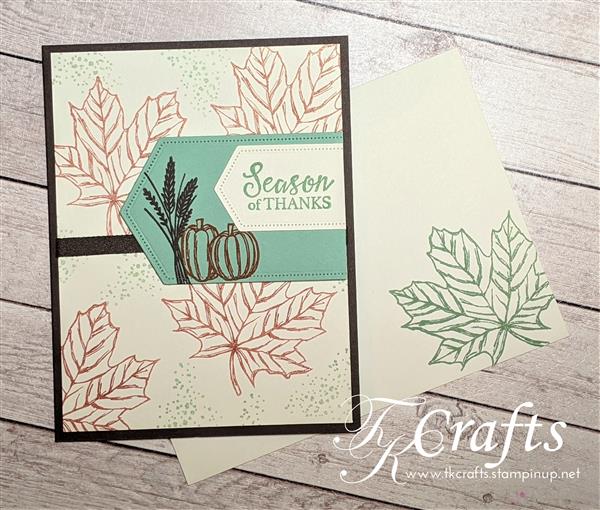
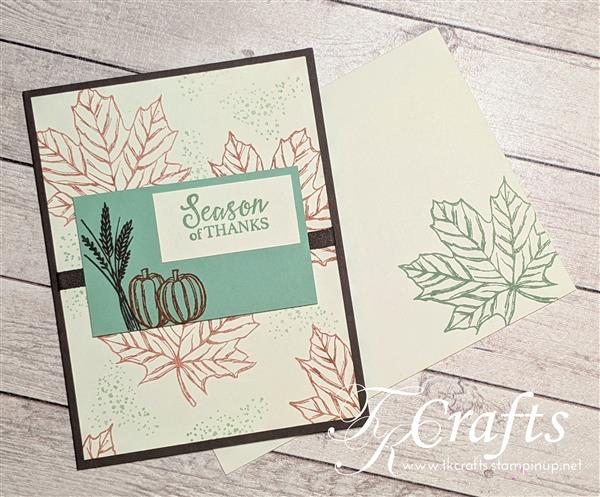
Season of Thanks

Card Base: Early Espresso Cardstock 8 1/2" x 5 1/2"  Fold in Half

  • Cut Very Vanilla cardstock to 4" x 5 1/4" 
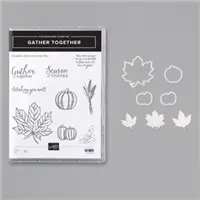
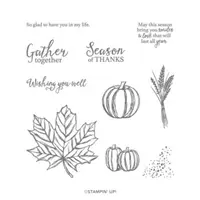
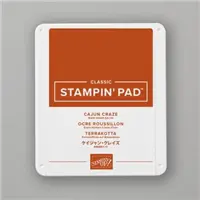
  • Stamp the large leaf in Cajun Craze using the 'Stamping Off' technique*  Stamp 4 or 5 leaves moving them around the Vanilla cardstock and stamping off the edge. (Place some scratch paper under where you are stamping). 
  • *Stampin Off: Ink up your stamp, then stamp on a piece of scratch paper before stamping on your card stock. This gives you a lighter color and makes the color more sublet on your paper. It essentially makes every ink pad two colors (a light and a dark). 
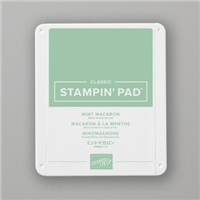
  • Stamp the small dots using Mint Macron ink (use the stamping off method). Stamp to fill in some of the blank areas on the Very Vanilla card stock. Turn the stamp as you stamp so every impression is different and stamp off the edges. 
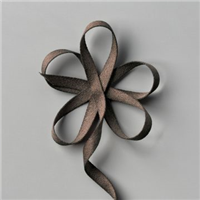
  • Cut the Early Espresso Faux Suede ribbon to 5 1/4". Put adhesive on each end of the ribbon and wrap it around the center of the Very Vanilla cardstock.
  • Adhere the Very Vanilla cardstock to the Early Espresso Card Base. 
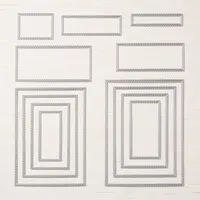
  • Use the large Nested Stitched Die (about 3 1/2" wide) and cut out in Mint Macron cardstock.
  • Stamp the wheat stock stamp in Early Espresso ink on the left-hand side toward the bottom (it may hang over the bottom so have a piece of scrap paper underneath. Stamp the two pumpkins using Cajun Craze ink to the right of the wheat stock (touching it). 
  • Use the small Nested Stitched Die (about 2" wide) and cut out in Very Vanilla cardstock.
  • Stamp the "Season of Thanks" sentiment in Mint Macron ink to the left side of the small Nested Die Very Vanilla piece. 
  • Using a paper trimmer cut off the right edge of both Nested Stitched Die cardstock pieces (cut where the Triangle begins)
  • Adhere the Very Vanilla piece to the Mint Macron piece so they match up on the right-hand side (leaving just a little of the stitching on the Mint Macron piece showing at the top). 
  • Use Stampin Dimensionals to adhere this piece to the right-hand side center of the card front. Line the right edge up with the Very Vanilla cardstock on the card front. 


INSIDE:

  • Cut a piece of Very Vanilla Cardstock to 3 1/4" x 4 1/2"
  • Stamp the sentiment "May this season...." in Mint Macton ink at the top center of the Very Vanilla. Stamp the Wheat stock at the bottom left of the cardstock in Early Espresso. Stamp several of the small pumpkins around the wheat stock using Cajun Crazy Ink. 
  • Adhere to the inside center of the card. 


View the full video on Facebook at https://www.facebook.com/TKCraftsandCards/videos/300784027929538/

 Our amazing special - Don't Miss Out!! ONLY $99 (+ tax) for over $250 in Stampin' Up! Product!!!! It’s Always a Great Time to Join ...